
1.普通字符串存储
1.引入spring-boot-starter-data-redisjar包,注意spring boot 2.1 没有对应的spring-boot-starter-redis版本,改名为spring-boot-starter-data-redis。
1 | <dependency> |
2.在application中添加redis配置
1 | spring: |
3.测试
redis客户端查看,没有任何key
1 | 192.168.187.11:6379> keys * |
1 |
|
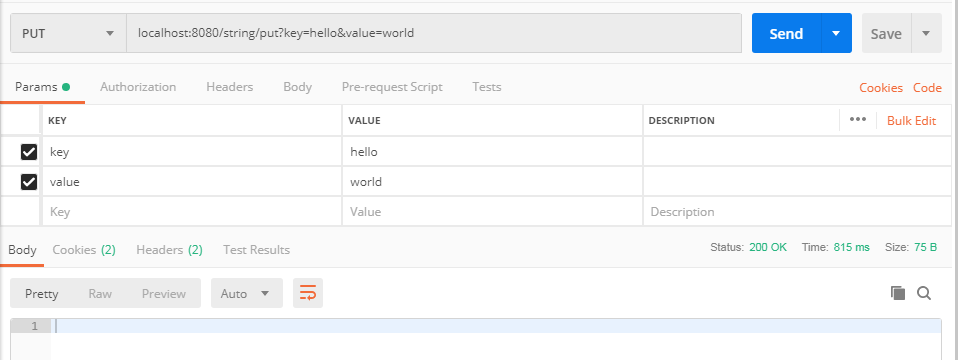
使用postman送请求: localhost:8080/string/put?key=hello&value=world
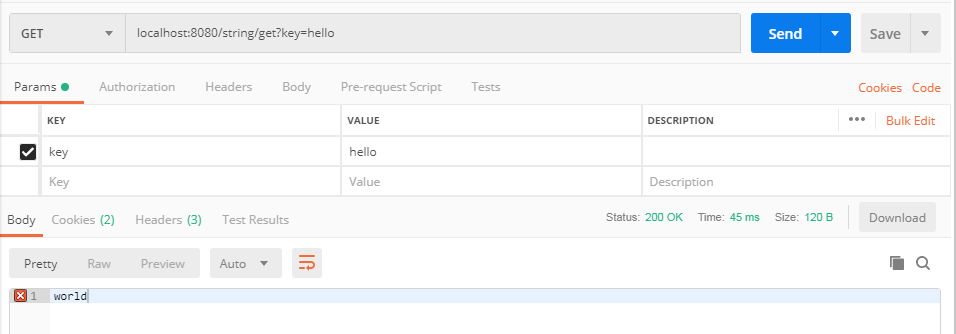
localhost:8080/string/get?key=hello
2. 对象存储
在上述使用中,是无法存储对象的,存储对象的话需要使用RedisTemplate并且要使用响应的序列化机制,下面我们就来测试下:
1.引入序列化的jar包,这里我们是使用jackson
1 | <dependency> |
2.添加redis配置类
1 |
|
3.添加测试controller
1 |
|
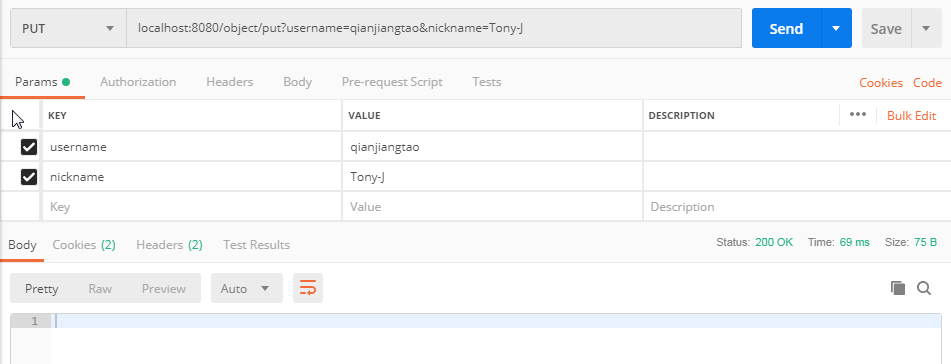
4.使用postman测试
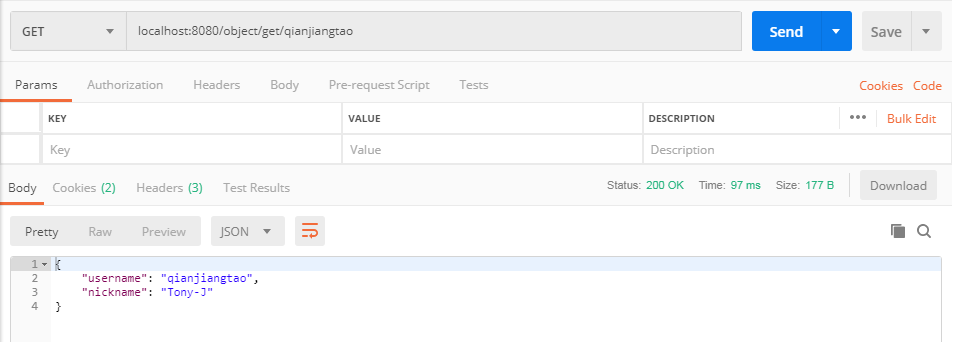
使用redis客户端查看
1 | 192.168.187.11:6379> get qianjiangtao |
3.spring boot整合redis自动化配置原理分析
我们都知道spring boot自动化配置中的配置都是通过spring-configuration-metadata.json来约束的,同理redis也是这样的,我们配置了spring.redis.host,不妨来找下这个配置项
1 | { |
从这能看出来redis的配置都是通过RedisProperties这个类来配置的,在这里面我们能看到众多的redis配置及默认配置,我们可以从一个入口切入,就拿port切入,来看下port在哪设置的
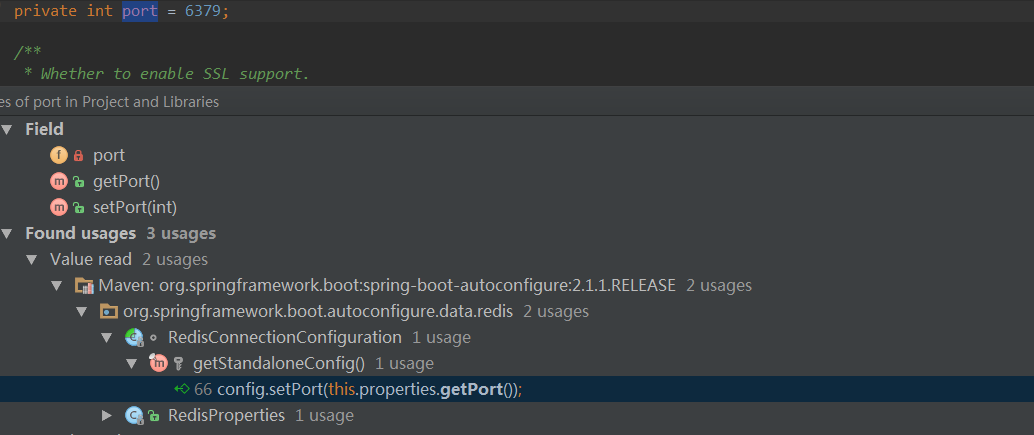
org.springframework.boot.autoconfigure.data.redis.RedisConnectionConfiguration#getStandaloneConfig
看出在RedisConnectionConfiguration中的getStandaloneConfig中赋值的,那这个方法又是谁调用的呢?继续找?
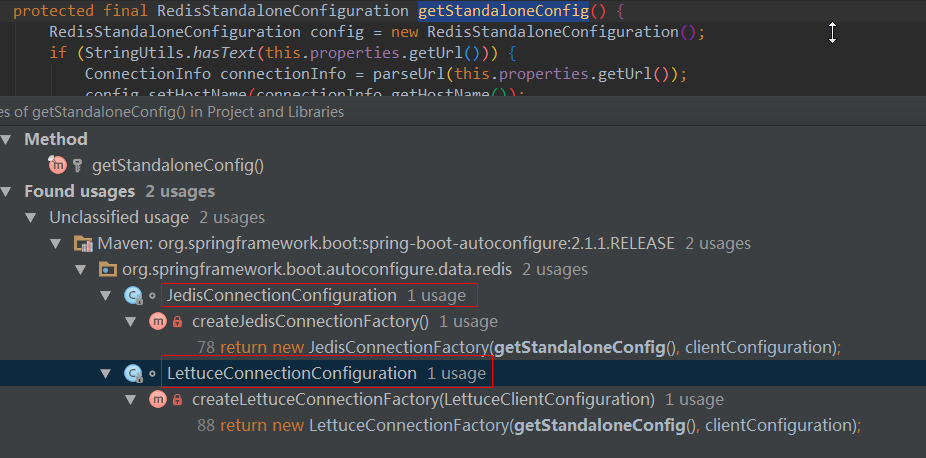
从图中能看出来有两个地方可能会调用,从类的名字能看出来,spring boot是支持Jedis和Lettuce两种客户端来操作redis,那到底是用哪个呢? 都看看呗
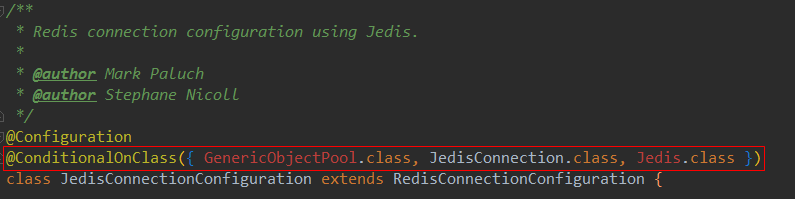
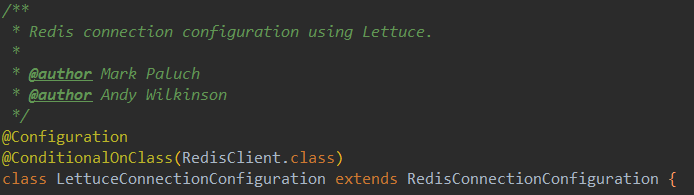
从图中截取的源码中能看出来,我是使用了LettuceConnectionConfiguration,看注解是我引入了RedisClient,我什么时候引入的?于是我就看看maven的依赖
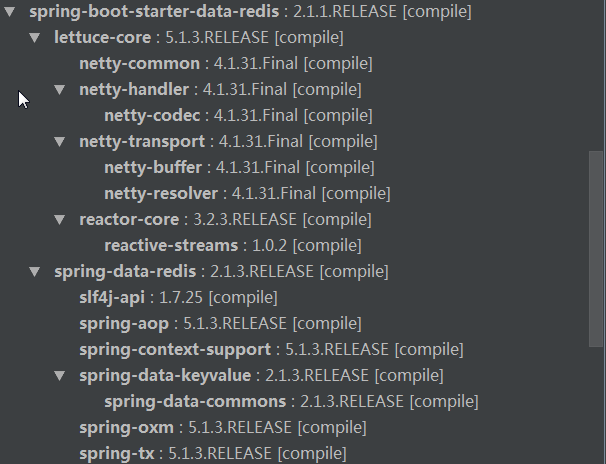
从maven依赖中能看出一些重要的信息:
1.spring-boot-starter-data-redis中其实用的是spring-data-redis,其实是包装了下
2.依赖了lettuce-core,原来是从这里引入的,怪不得
如何验证呢?不能瞎说
要想知道很简单的,在我们自己写的RedisConfig中打下断点,看看用的RedisConnectionFactory到底是不是LettuceConnectionFactory就能证明了
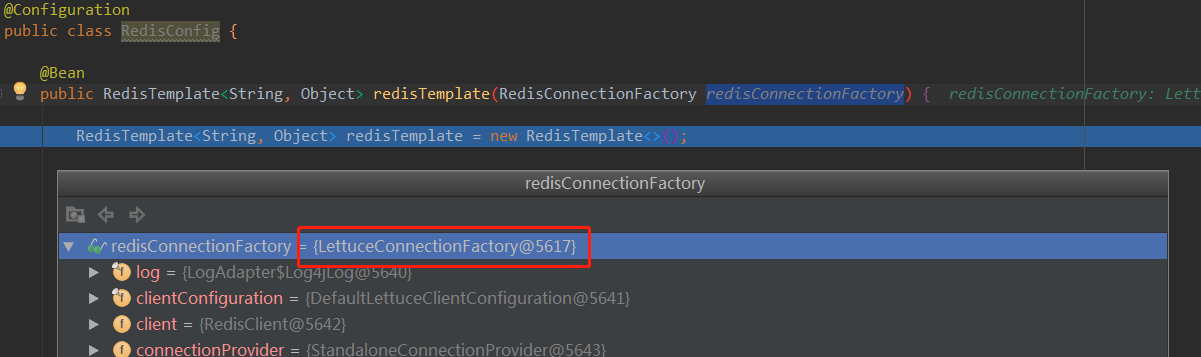
果然如此!
简单的流程就是:
1.spring boot通过application配置加载redis配置
2.解析封装成RedisProperties
3.根据@ConditionalOnClass判断使用哪个Redis客户端,封装成LettuceClientConfiguration并创建LettuceConnectionFactory
4.通过@Bean创建我们自己的配置类在LettuceConnectionFactory基础上添加我们自己自定义的配置